Photo Framing
Here is a step by step guide to how I frame your items
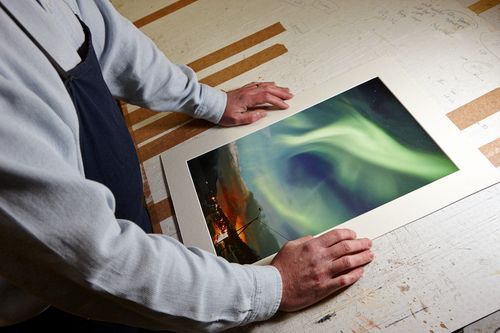
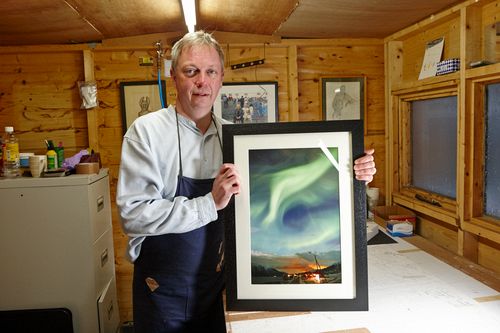
This photograph was taken by Joe Fox on a recent trip to Northern Norway for his photo agency Radharc Images. Joe produced some stunning photographs of a full Corona of the Northern Lights on an Aurora chase just outside Tromso in Northern Norway. Joe chose one of the images for framing and it is produced on archival fine art photographic paper 18×12 inches in size.
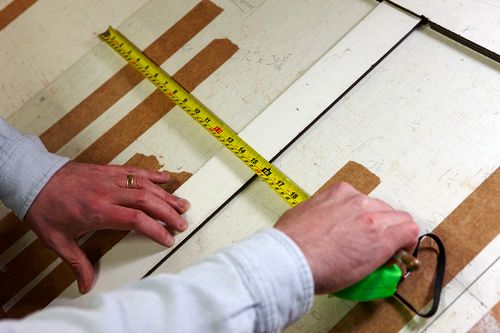
With the size of image the mount is then chosen and depending on where the image is to be hung may have an influence on the total frame size. When we decide this I measure out the glass for the entire frame
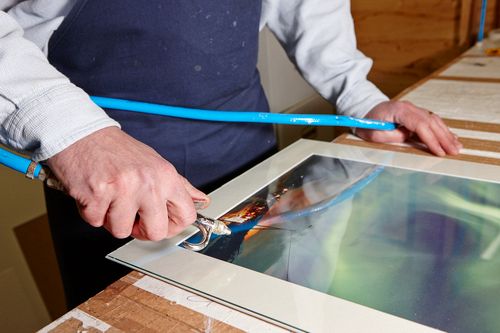
The particular type of glass for this frame is then hand cut
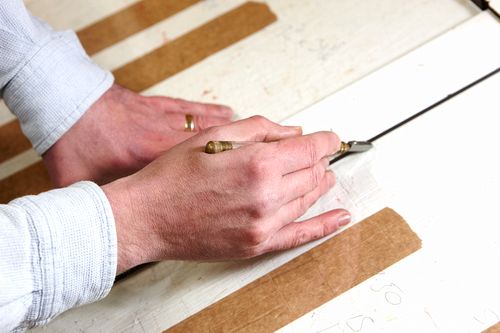
The style and colour of the mount is chosen and is then hand cut to size
In this case the photographic print is then attached to the mount
The photo and mount are then offered up to the glass for assembly

The print mount and glass are cleaned and airblown to get rid of dust
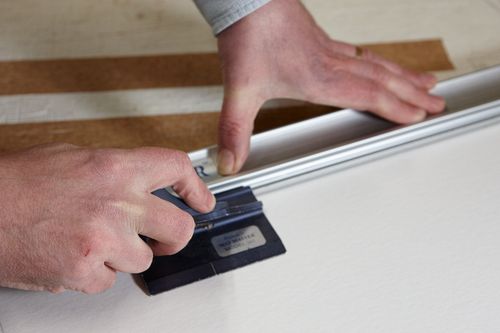
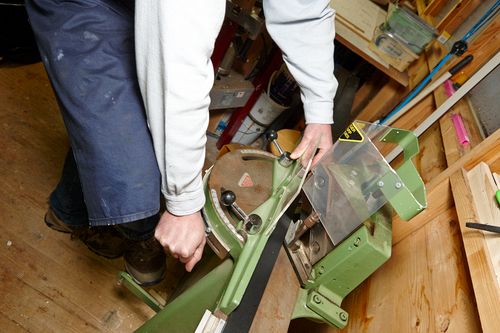
The selected frame edging is then cut to exact dimensions with the guillotine
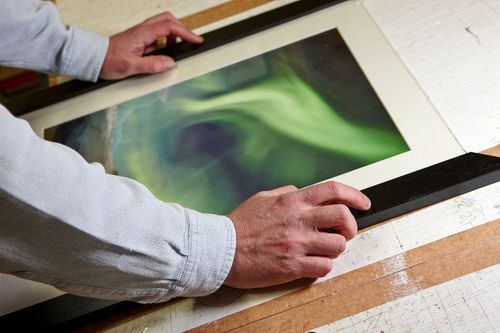
The frame sections are then offered up to the print and glass for final assembly
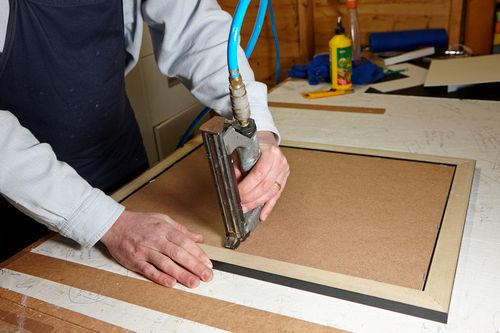
The frame is then stapled together in the v frame

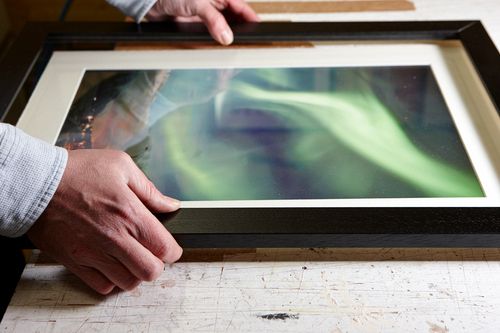
All the components are then brought together for assembly
The backboard and frame are stapled together
hanging cord is measured for the frame position
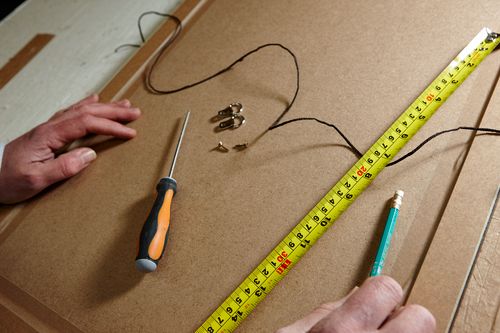
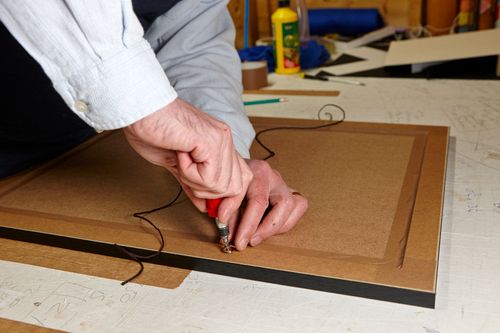
the hanging eyelets and mounting cord are attached to the frame
The final finished article
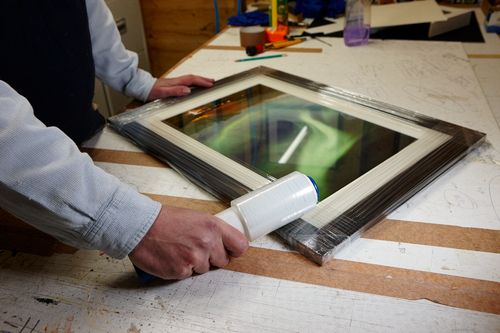
The finished frame is then wrapped to protect it during final transportation to the client
Photos courtesy Joe Fox Photography
0 Comments on “Photo Framing”